
Ball Stop Application
Ball stop application information and instructions shared below.
-
Adhesives Used by Studio Stops
Studio Stops lacrosse ball stops ship with modified acrylic adhesives already applied to the back of the ball stop. This adhesive provides excellent adhesion to a broad range of substrates that include our lacrosse ball stops and the lacrosse heads on the market. *These adhesives best adhere when applied in an environment between 70 to 100 Degrees F.*
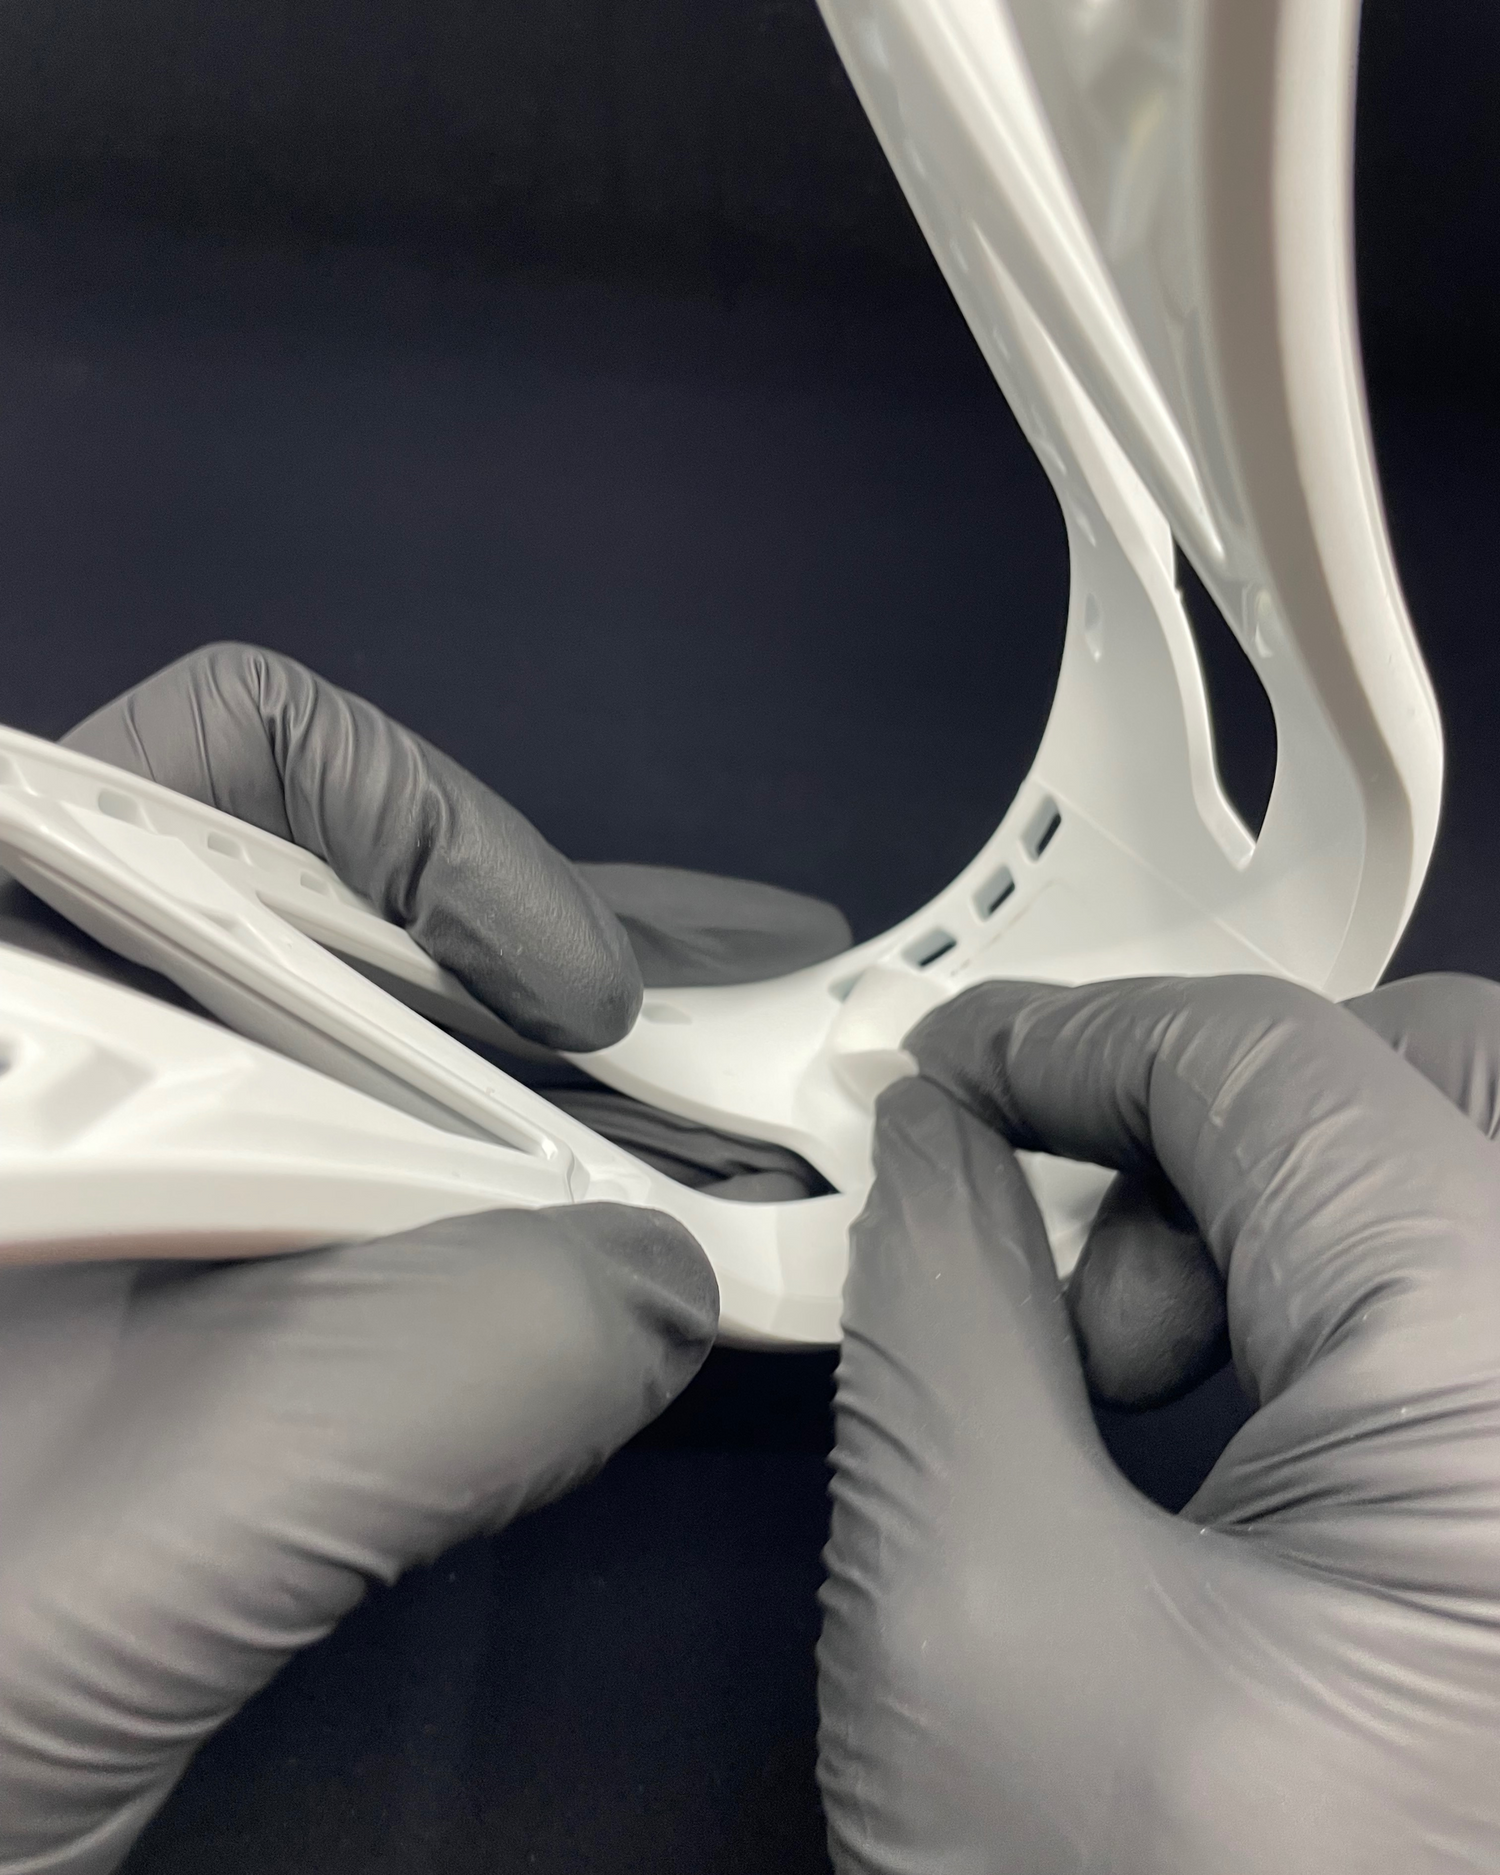
1. Remove Old Ball Stop & Debris
1A - Remove old ball stop.
1B - Remove and scrape away any old adhesive and debris from the application area.
2. Clean & Prepare Application Area
For thorough cleaning, after scraping away old adhesive & debris, a 50:50 mixture of isopropyl alcohol (IPA) and water (or IPA wipes) may be used. If doing so, put on suitable gloves first and follow the instructions in the material safety data sheet for the cleaner that
you use.
(*Use clean, non-perfumed cleaning cloths/washcloths without plasticizers)
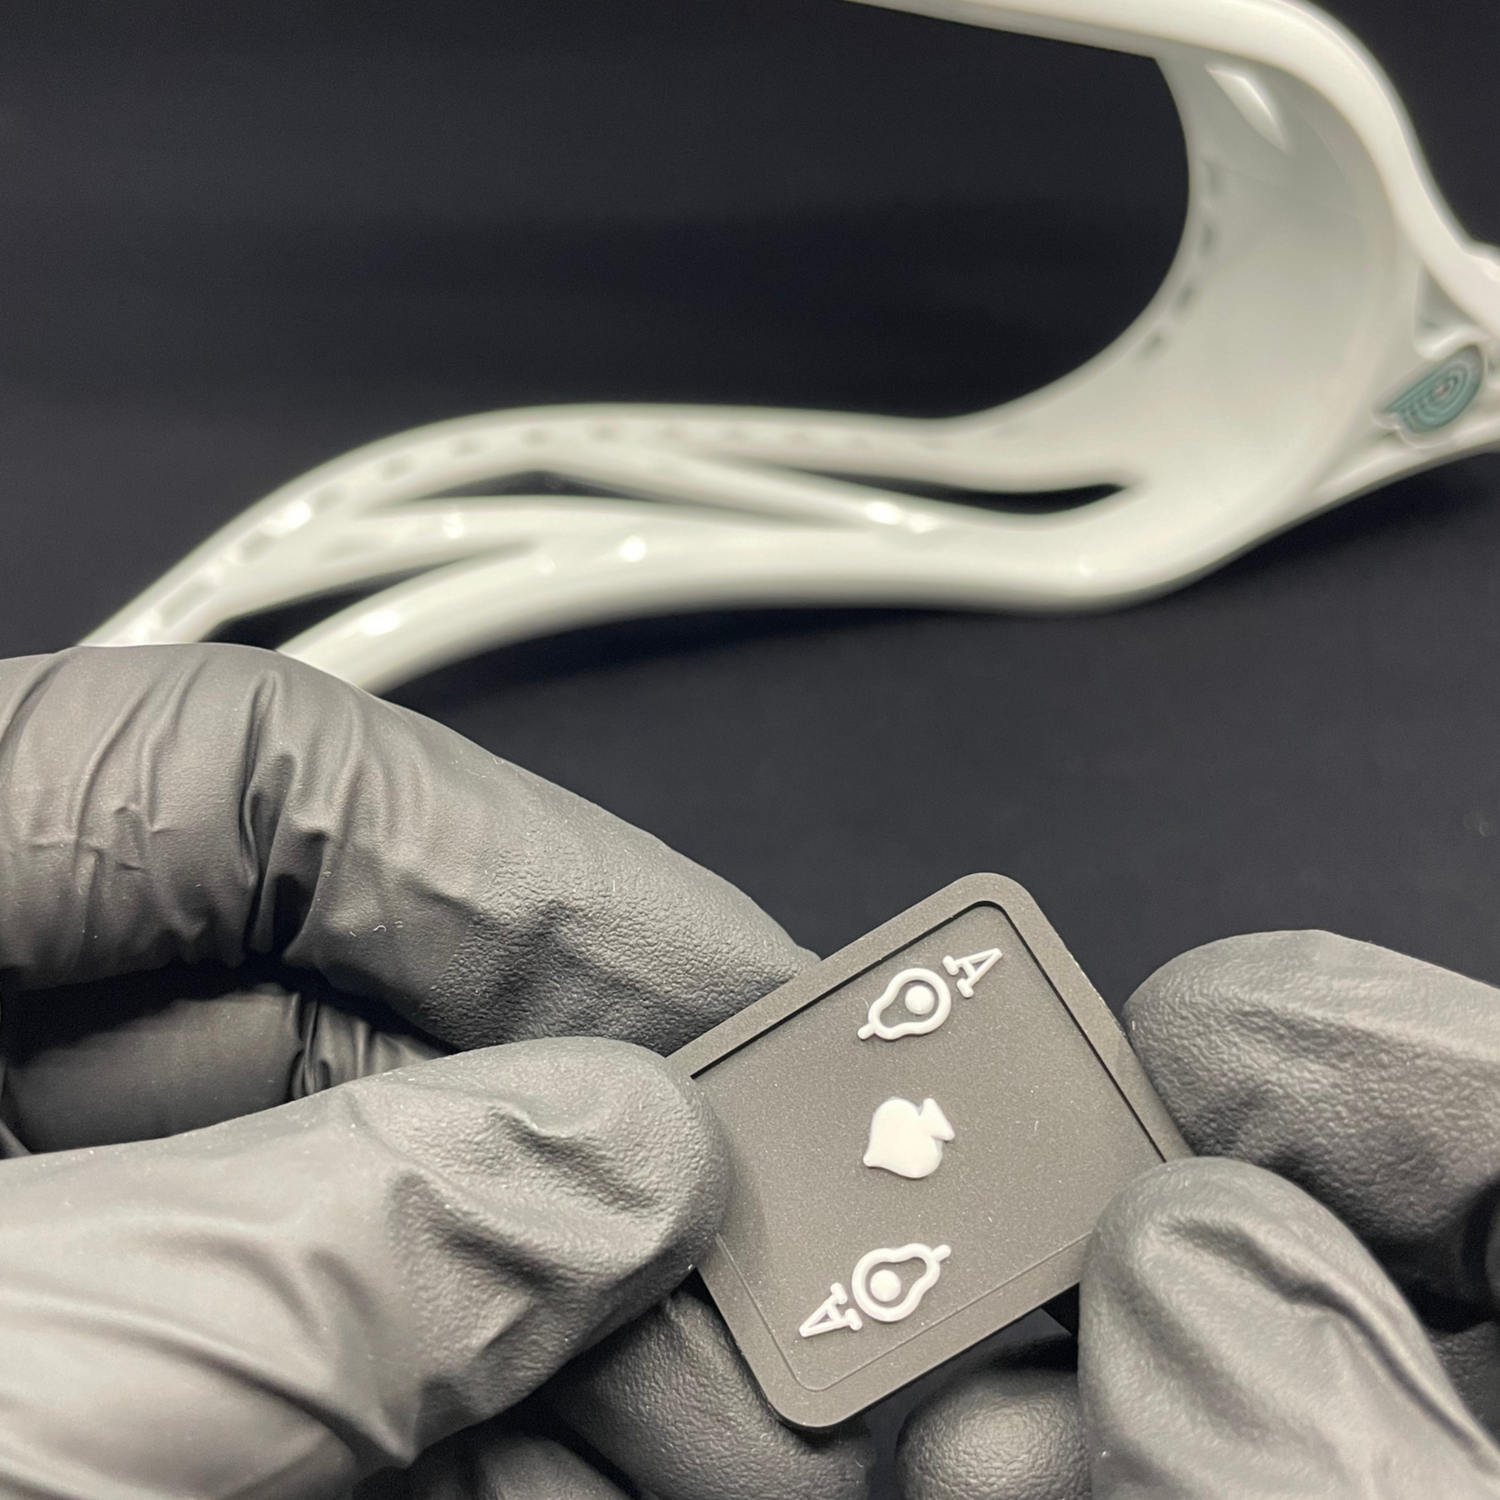
3. Let Application Area Dry and Grab New Ball Stop
Let area dry before applying the new ball stop.
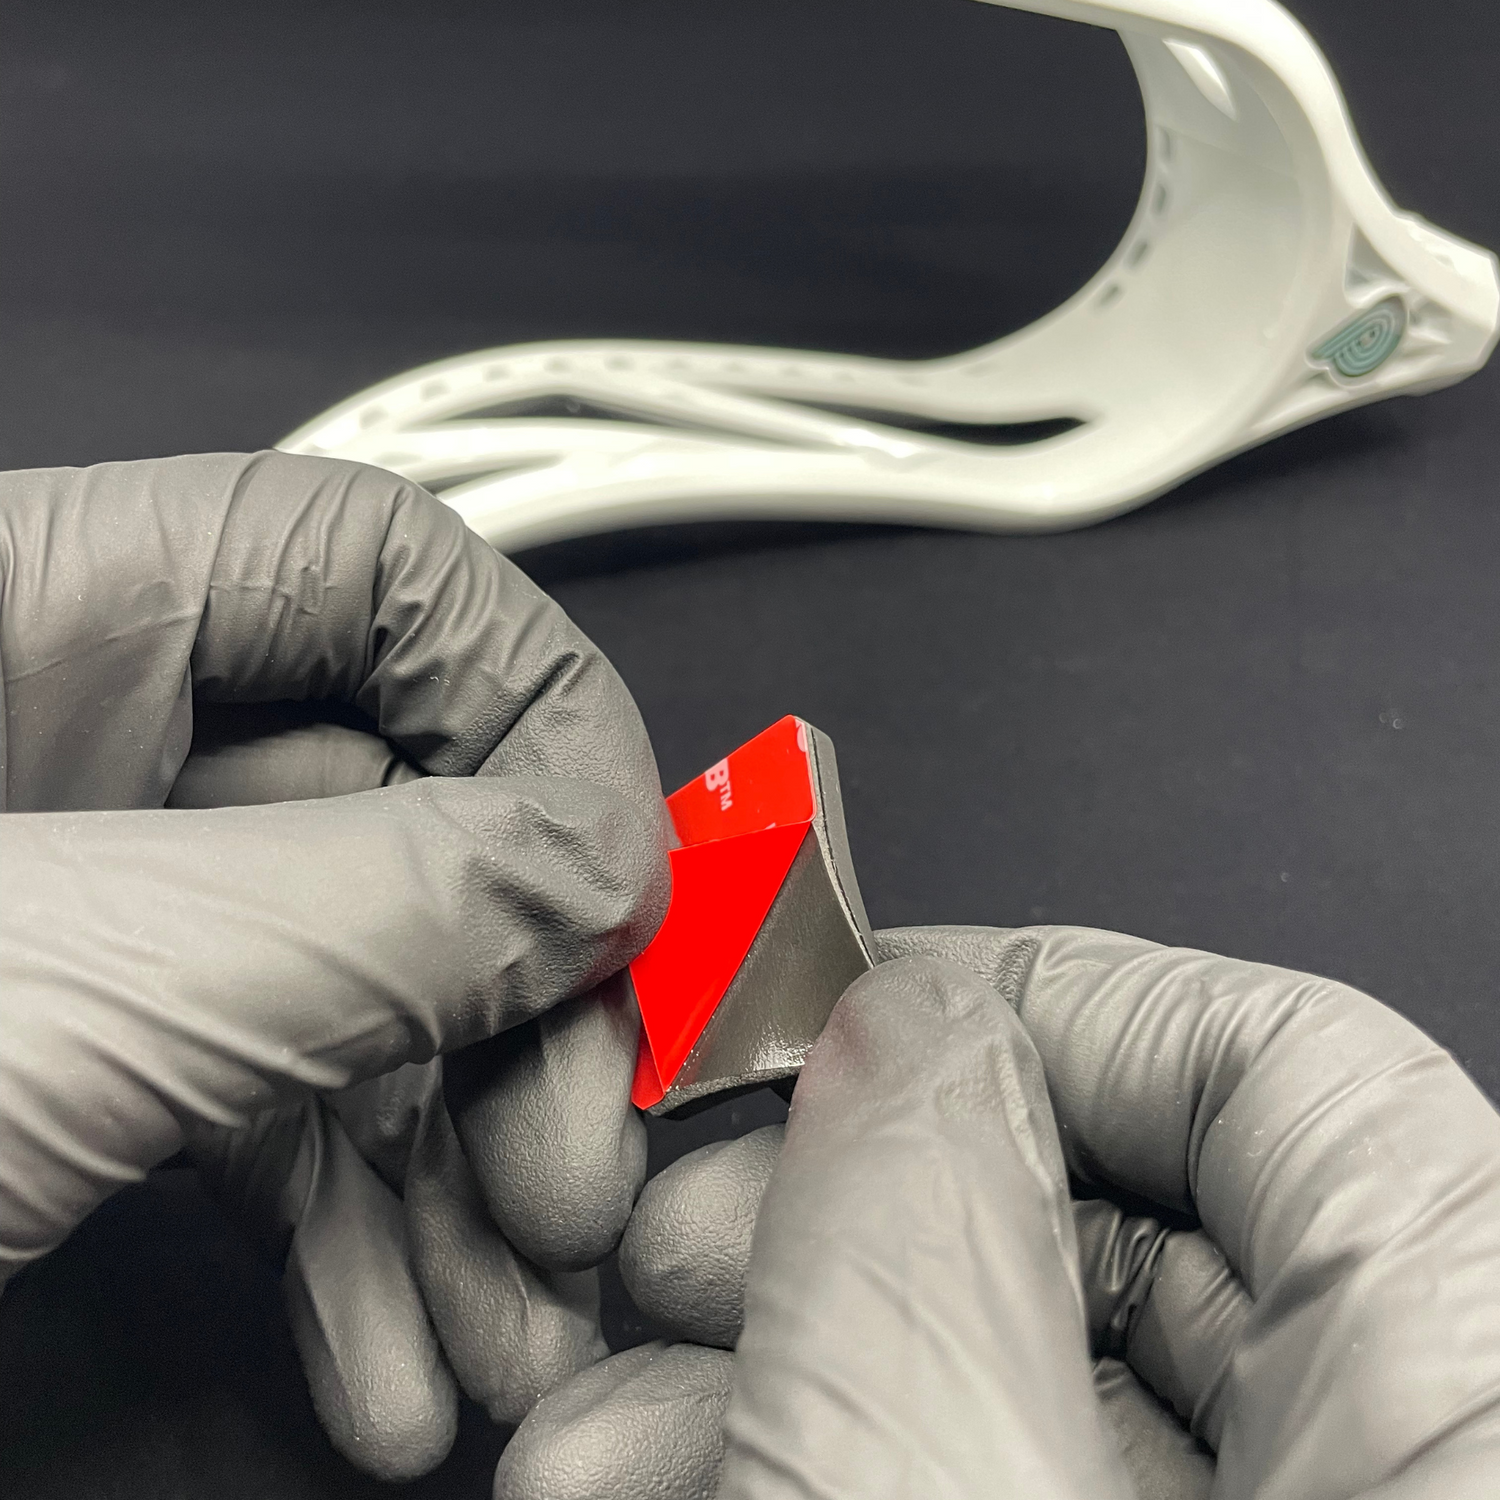
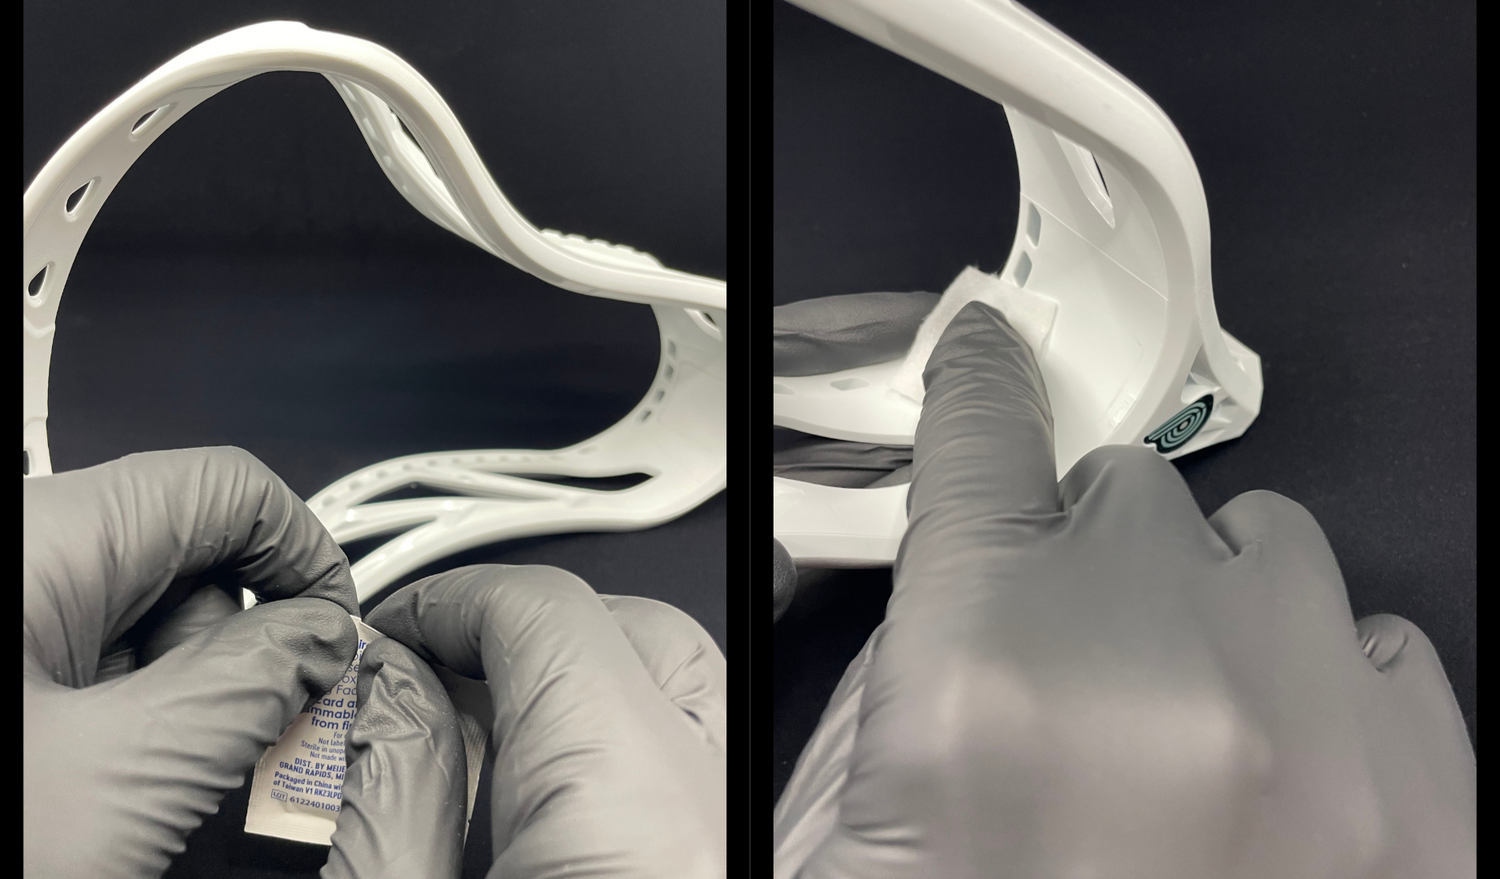
4. Peel Away Adhesive Liner on the Studio Stops Ball Stop
Peel away liner from the adhesive on the back of the Studio Stops Ball Stop.

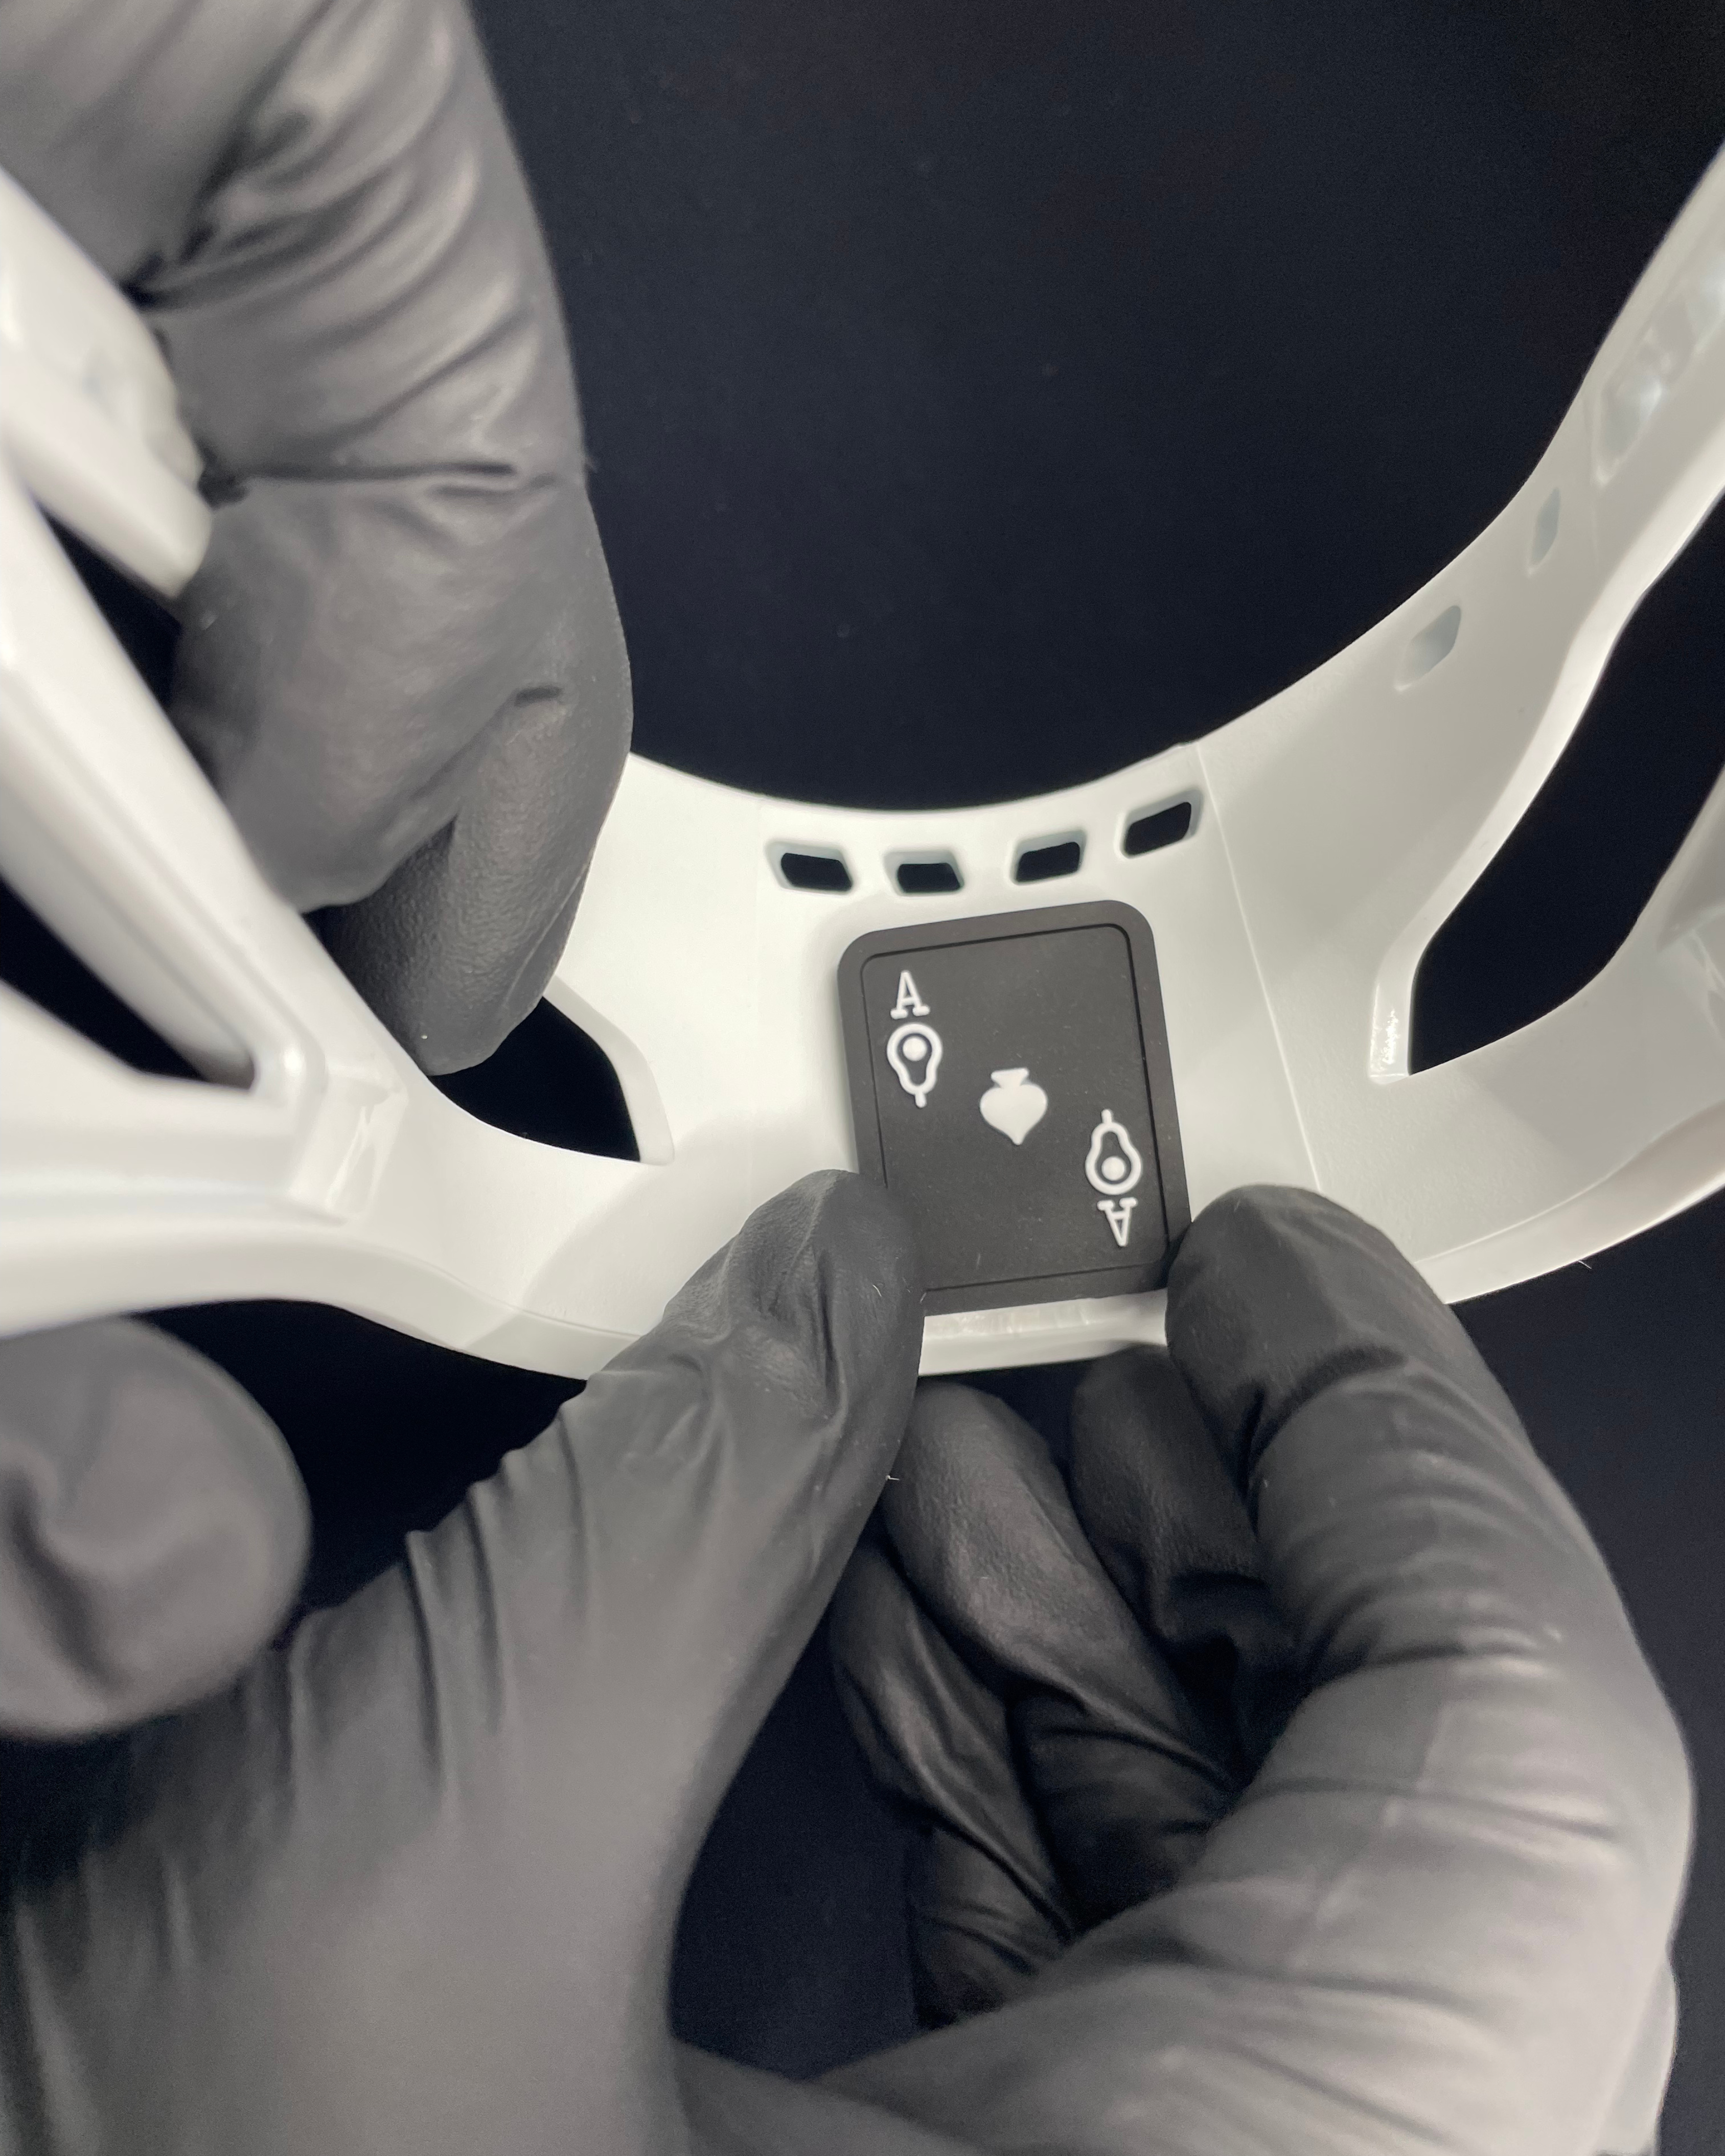
5. Position and Place New Ball Stop
Carefully place and position the new ball stop where you want it on your lacrosse head. Once it is located where you want it, begin pushing the ball stop against the head of the stick.
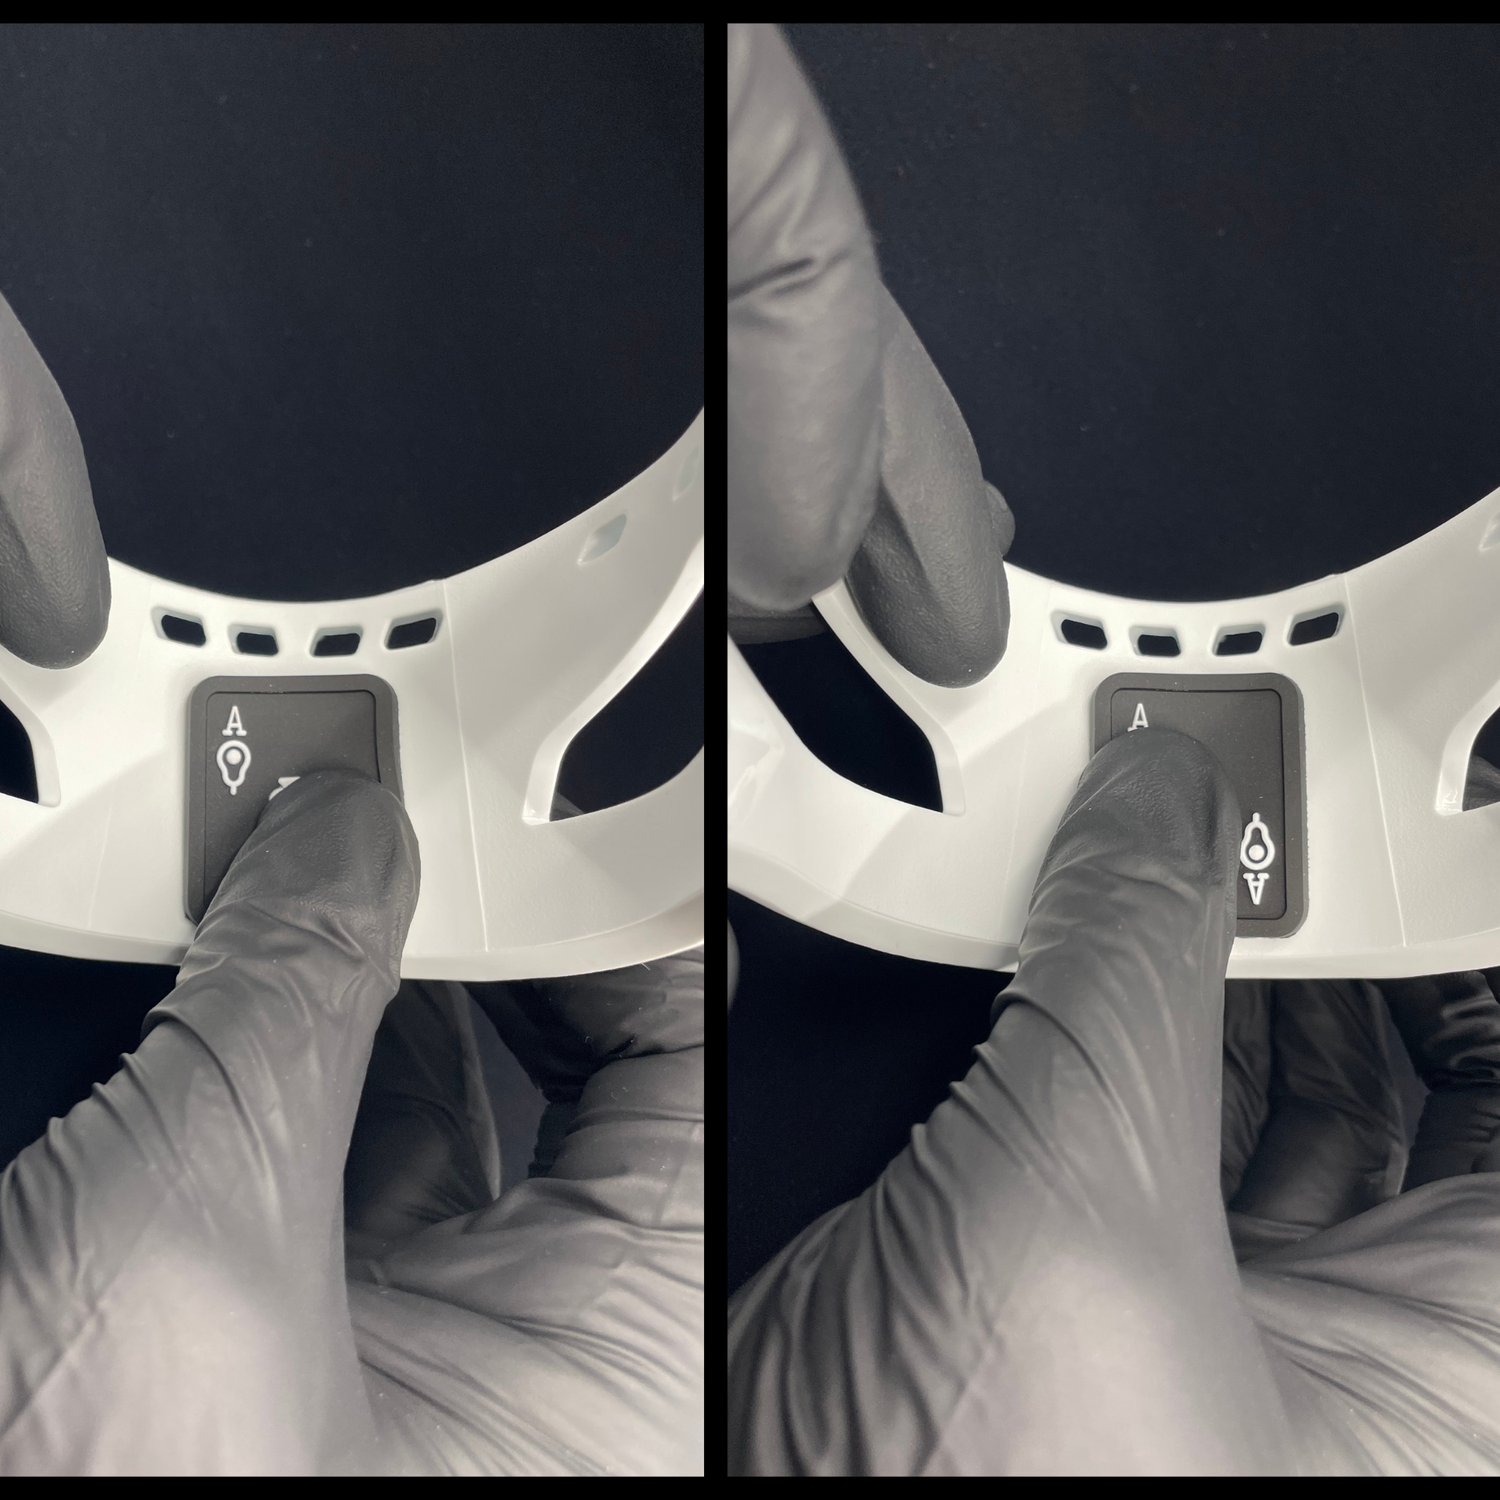
6. Apply Pressure Over Full Area of Ball Stop
Applying pressure across the full area of the ball stop facilitates optimal adhesion and wet-out onto the head of the stick. Use your thumb to apply pressure over the full area of the ball stop for 30 seconds.
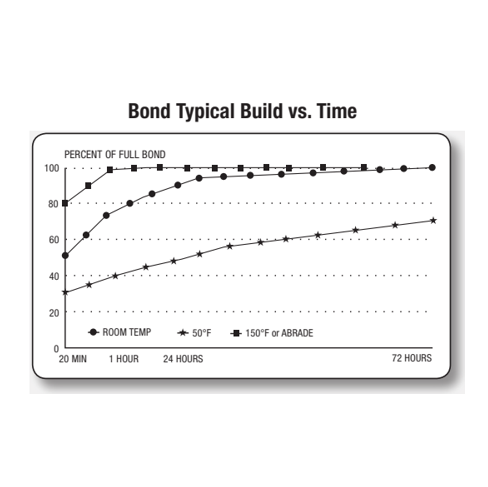
7. Time
After applying the ball stop, the bond strength will increase as the adhesive wets out onto the head. At room temperature about 50% of ultimate bond strength will be achieved after 20 minutes, 90% after 24 hours and 100% after 72 hours. The wet out process is faster at higher temperatures and slower at lower temperatures. Please see chart for more details.